This guide explains how to add a product in your webshop with Printeers Print & Ship. You need a working webshop and Print & Ship configured to make this work. First you need to make a choice what you want to achieve. There are currently a few ways to add products. We describe them all below.
This guide applies to you if:
Add a simple product with your own design
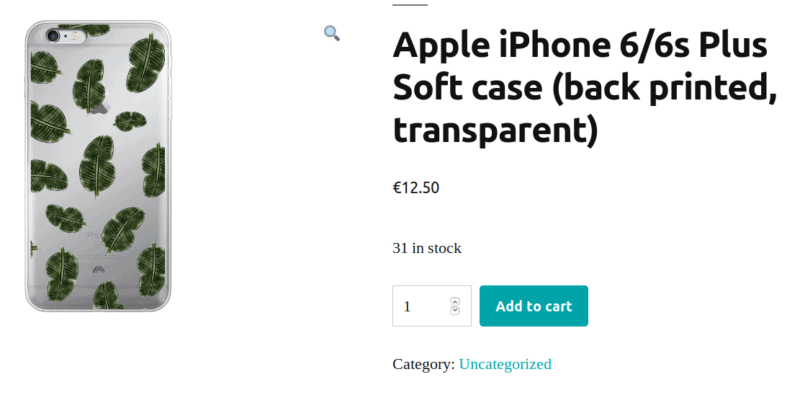
This is the simplest option to create products. What we are achieving here is making one simple product with your own design. This could for example be an Apple iPhone 12 transparent soft case with a flower print. As you can see for phone cases this is usually a bit basic. There are a lot of different phones, making this a lot of work to add to your website. If you have let’s say 10 models and 10 designs this will result in creating 100 products manually.
For face masks however this might be an ideal option as there are only two sizes and most people only sell the Large version. That means when you want to sell 10 designs you only have to make 10 products.

Creating the simple product
- Navigate to Printeers > Create a product > Simple product. You now see a list of available products.
- Check the products you want to add
- On the top left of your screen, use the dropdown to select ‘Add as new products’. The products are now added to your shop as Draft
- Optional: Navigate to Product Updates if you have set this up for simple products. If there are updates available for example to manage pricing, run the updates.
- Navigate to WooCommerce > Products and open the product you have just added
- Add all missing data, like product texts, a good SEO title e.g.
- On this page you should also see a box named ‘Printeers Print & Ship’. Here you can upload the print image. This image is uploaded to the Printeers server when someone buys this product from you.
- Publish the product and let’s make some sales!
The stock of this product is automatically updated every 5 minutes and when someone orders this product, it’s automatically ordered in the Printeers Platform.
Add a variable product with your own design
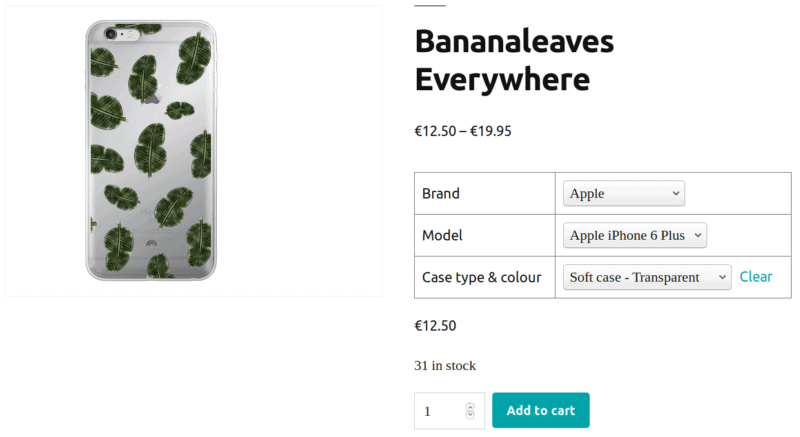
Variable products are the best way to sell your own designs on phone cases. We have built a system to make product variations and product image renders fully automated. If you want to sell a phone case with your own design, this is the way to go. A product like this could be called ‘Phone case with flowers design’ for example.

Adding a variable product
- Navigate to Printeers > Create a product > Variable product
- Follow the steps in the wizard to create a product
- Go to Printeers > Product Updates to run all the open updates. This might take a while depending on what you have selected in the wizard. If you are making 300 variations, the plugin will also render 300 images of different phone cases with your design on it so this might easily take 30 minutes per product. Please remind that this is all stored on your web server so make sure you have enough resources to do this.
- When the updates are done, navigate to WooCommerce > Products and open the product you have just made.
- Enter all details like a good SEO text and connect the product to the category.
- Publish the product and make your first sale!
Filter the variable product
It’s possible to create a product for just one case type, or just one brand. When creating the product you have to select which Brands, Models and Case types you would like. This acts just as a filter for Product Updates. When you select Apple as brand, all models and all case types, the Product Updates page will only suggest creating variations for Apple. When you select all brands and models but only transparent soft cases, Product Updates will suggest to only make a transparent soft case for all brands and models.
Don’t forget that if you enable ‘Automatically add brands’ or ‘Automatically add models’ the Product Updates page will also suggest to add the missing brands and/or models. If you wish to make use of these filters you have to disable the functions to automatically add missing data.
Add a non-print product
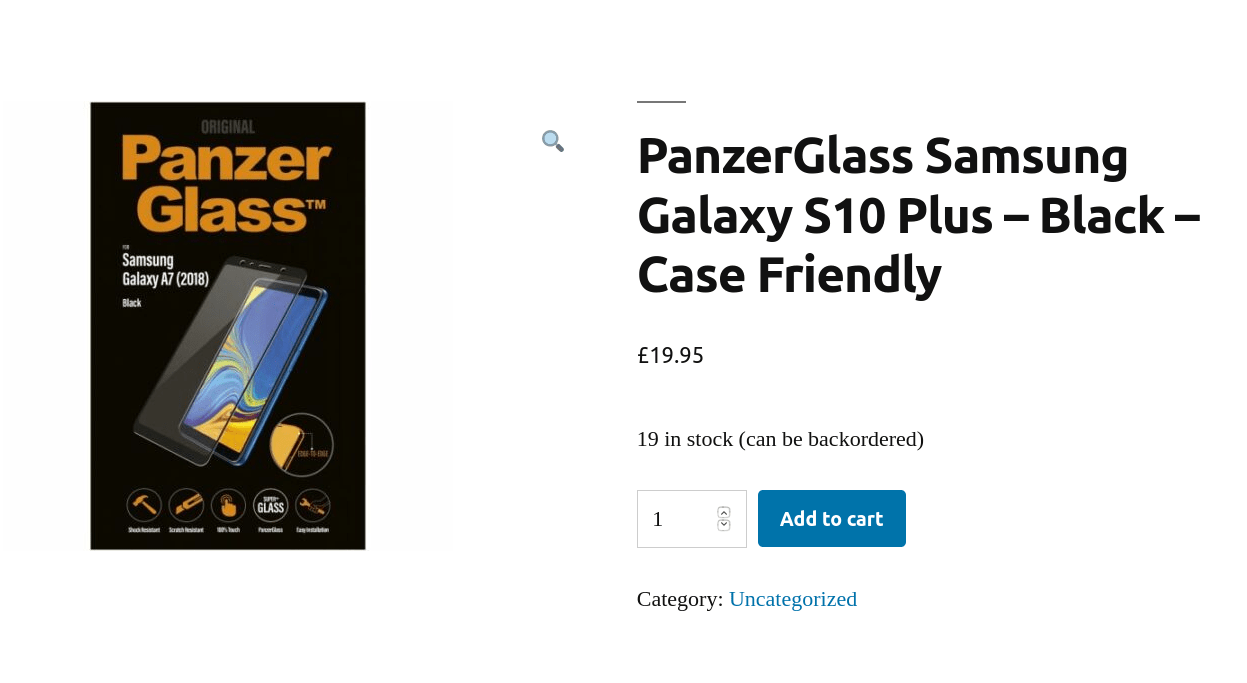
Adding a non-print product works the same as adding a simple product, the only difference is that you don’t have to upload a print image. You can use this to add accessories like screen protectors. A short list of steps:
- Go to Invition > Create a product > Simple product
- Check all products you want to add. You can use the search function on top to find specific products.
- Select ‘Add as new products’ from the dropdown and click Apply. Your products are now added as draft.
- Go to WooCommerce > Products and click the product you have just made
- Add all missing details like a category and a good SEO text and publish your product

