After many requests, here it is! How to use Order Desk to automatically order your customised phone cases at Invition. This guide will tell you step by step how to configure everything so you can sit back and relax while the system does the hard work.
This guide does not include stock updates, it only covers how to automate your order flow.
This guide applies to you if:



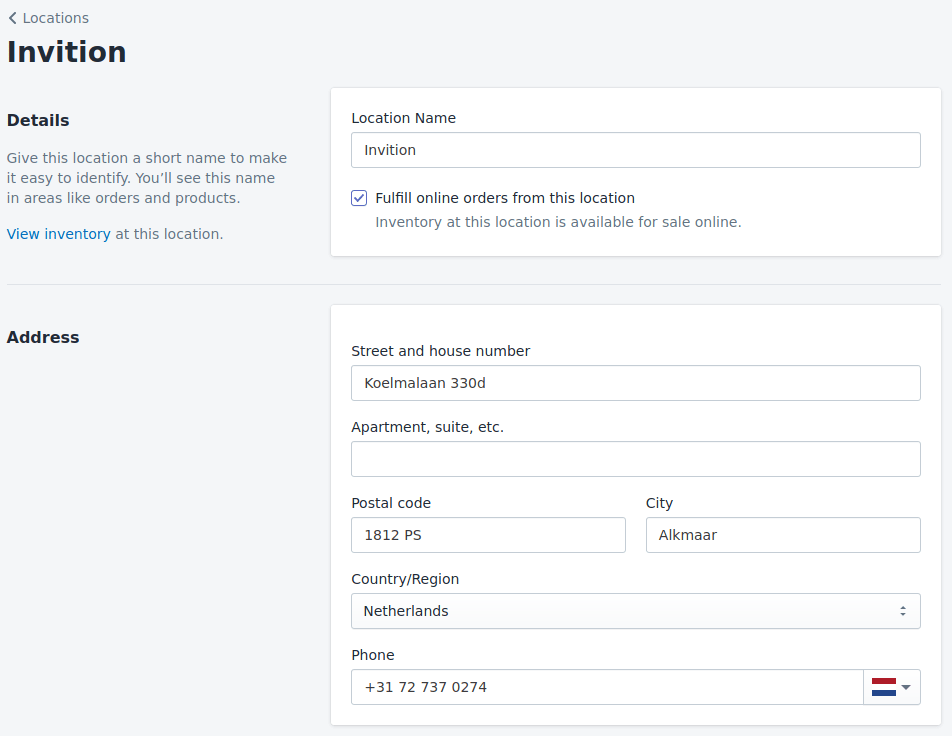
Step 1 – Create a location
This step only applies when you sell products from other locations or suppliers
If you want to sell products from other suppliers as well it’s a good idea to add an extra location. This makes it easier to separate your inventory and shipping fees. Go to:
- Settings
- Locations
- Add location
and enter our details.
Step 2 – Create a product
The next step is to create a product. Add a nice picture, write some good texts to make Google happy and add the price. We recommend using our suggested retail price but feel free to pick your own price. Our SRP can be found in the Dashboard.
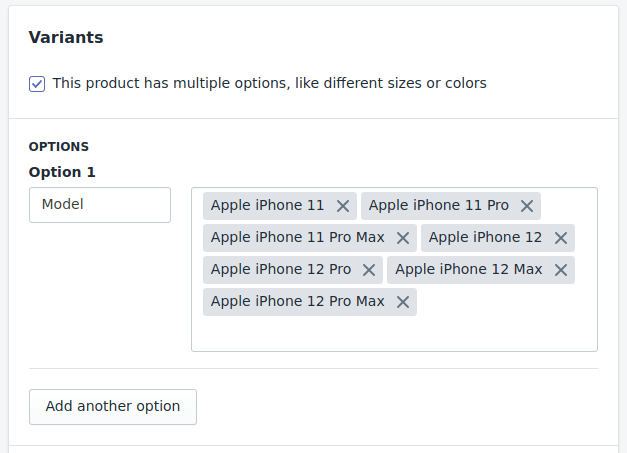
Enable variants
Then scroll down to Variants and check the box ‘This product has multiple options, like different sizes or colors‘.

Add the models
This is where we will enter our models. Adding the models is a manual job, so we recommend starting with the most popular models. Feel free to send our support desk a message if you need some recommendation on what models to add. For this guide we will add the latest 7 iPhone models.
Select the Inventory location
If you created a location at step 1, make sure you select Invition as location where the products are sold from.

Step 3 – Add the print details to Shopify
There are a few ways of setting this up. We will add our print details to Shopify to make it easy to manage. If you manage your inventory in Order Desk, you can also add the print details there. Check the Order Desk help centre or contact Order Desk if you need more information about other ways of setting it up.
Upload your artwork
You can upload your print image to Shopify. To do this, go to:
- Settings
- Files
and click ‘Upload files’.
Upload your print image here. In the list of files you can see an URL behind the file. That URL will be used in the next step to tell Order Desk where the print image is.

Open the bulk editor
We have to add some meta fields to Shopify. A meta field is a field where you can store additional information for a product. In our case these are the print details. There are addons to do this, but we will do this without an addon. There are two meta fields required to make the integration work:
- print_url
- print_sku
Creating the fields is easy. Put your Shopify name in the URL on the right and open it in your browser to open the bulk editor and enter the details.
https://YOURSHOPIFYNAME.myshopify.com/admin/bulk?resource_name=Product&edit=variants.metafields.global.print_url,variants.metafields.global.print_sku
Add the print data
The bulk editor opens and creates the fields. In the field Print URL, add the URL of the artwork you have just uploaded. This will be printed on the case. In the field Print SKU, add the Invition article number of the product you want to order for this specific variant. This article number looks like this: B64210000

Step 3 – Configure shipping
Configuring shipping is quite easy. In the guide we will enable one shipping method, but you can repeat the steps if you want to give your customer a choice. The latest shipping costs can be found here. Don’t forget that the prices in the list are excluding VAT!
Head over to Settings > Shipping and Delivery > General shipping rates > Manage rates
Create a Shipping zone and add rates
The shipping zone contains all countries with the same shipping rate.
- Click Create shipping zone
- Give the zone a name and add the countries to the zone
- Add the rate you want to charge to the customer
- Choose a clear name like ‘Regular mail’ or ‘Express with Track & Trace’

Step 4 – Set up Order Desk
Add the Shopify integration to your Order Desk account. You can do this by going to Manage integrations and follow the steps for adding Shopify. The next step is to add the Invition integration. Insert your API credentials to connect Order Desk to Invition. If you don’t have API credentials, please register here.
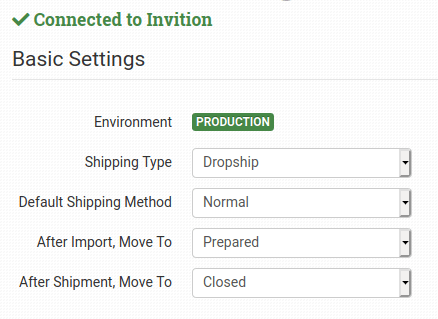
General settings
The general settings for the integration look like the image on the right. You only have to choose your preferred shipping method. This will be the default shipping method.
Shipping class matching
If you added multiple rates in Shopify you can use the Shipping class match to enable multiple methods. For each method enabled in Shopify, select the Invition method that belongs to it. That might look something like the example on the right.

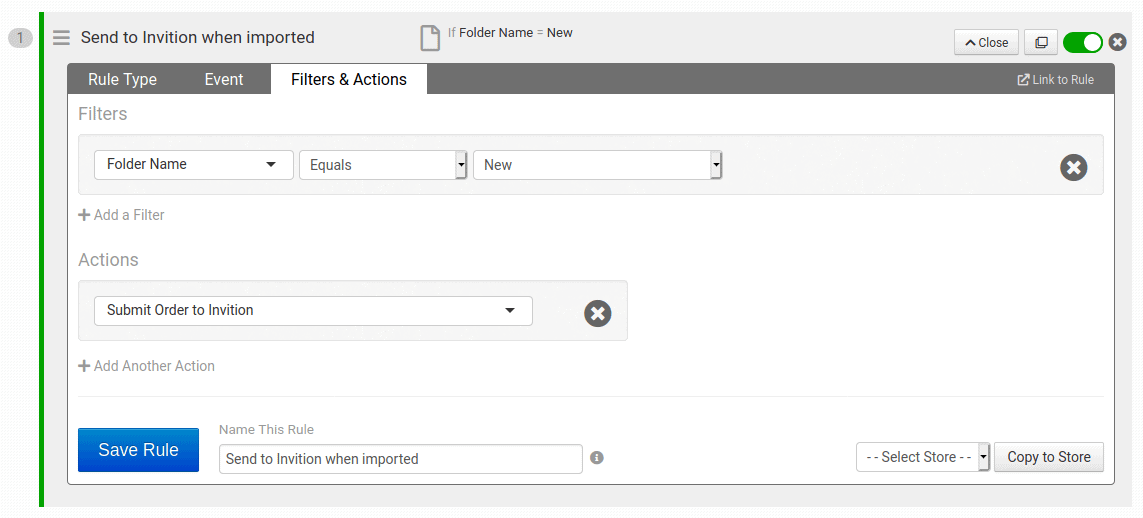
Setting up a rule
The final step is to set up a rule.
- Navigate to the Rule builder and create a new rule. You can call this rule ‘Send to Invition when imported’. This rule will make sure all orders are automatically sent to us.
- Select ‘Order rule’ as the rule will apply to the whole order.
- As event select ‘Order is imported’ as we want to push the order to Invition as soon as it is imported. You can add a lot more smart logic to this, but we will not cover that in this guide. Feel free to browse in the Order Desk help centre to read more about this.
- Add the action ‘Submit order to Invition’
Each order will now be pushed to Invition automatically when it’s imported by Order Desk.
